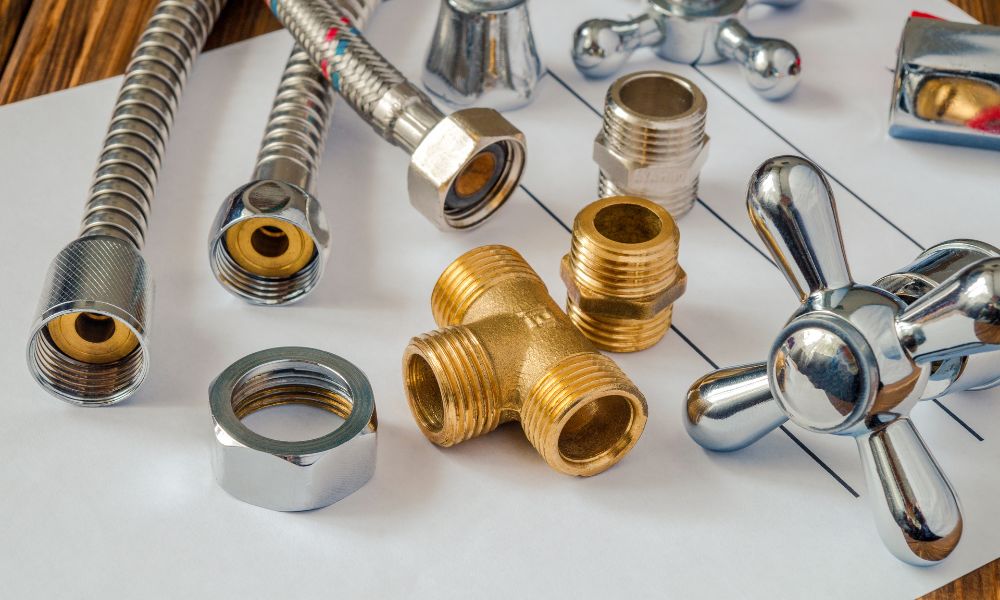
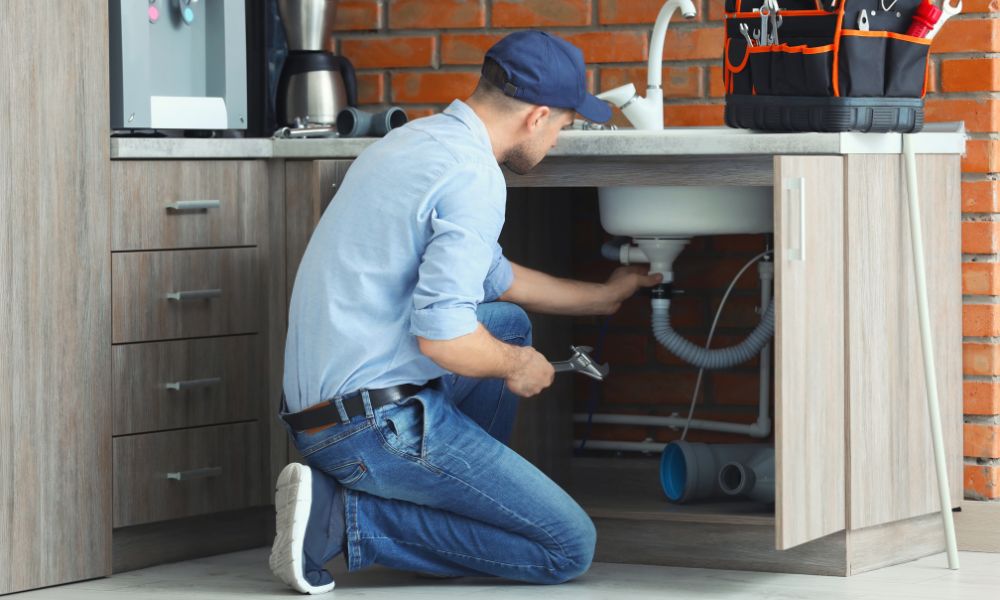
Choosing the right plumbing fixtures is a critical part of creating a functional and aesthetically pleasing home. These fixtures not only serve necessary utilitarian functions, but can also enhance your property’s style and value. Here are some expert tips to guide you through this crucial selection process.
Hiring a Plumber in Northern Virginia: What You Need to Know
Find great plumbing services with J. Hood Services
Before choosing plumbing fixtures, consider the overall style of your home:
- For traditional homes, classic choices such as bronze or brass fixtures may be more suitable.
- For modern or contemporary homes, sleek stainless steel or chrome fixtures could be a better fit.
By matching your fixture style to your home’s aesthetic, you’ll create a cohesive look throughout your space.
Finding the Right Northern Virginia Plumber to Suit Your Needs and Lifestyle
Different households will have different needs when it comes to plumbing fixtures:
- If you have young children, safety and durability may be your top priorities.
- If you’re an avid cook, you might want a kitchen faucet with high functionality features such as pull-down sprays or touchless technology.
- In the bathroom, if comfort and relaxation are key for you, soaking tubs or rainfall showerheads could be ideal.
Opting for Quality Plumbing in Northern Virginia
Quality should never be compromised when choosing plumbing fixtures. While cheaper alternatives may seem appealing initially, investing in high-quality products will save money in the long run due to their longevity and higher performance levels. Appropriate materials include:
- Stainless steel: Durable and resistant to corrosion.
- Brass: Strong and adaptable to temperature changes.
- Copper: Known for its antibacterial properties.
Ensure that all chosen materials meet industry standards for lead content.
Exploring Plumbing Companies in Northern Virginia
Eco-friendly fixtures can significantly reduce water consumption without sacrificing performance:
- Look for products with WaterSense labels — these meet EPA criteria for water efficiency and performance.
- Consider dual-flush toilets which have two flush options to conserve water.
Discover the Best Plumbing Services in Northern Virginia
The finish of a fixture plays a significant role in shaping the style and mood of your space. Some options include:
- Chrome: Versatile, durable, and easy to clean.
- Brushed Nickel: Has a warm look and hides fingerprints and water spots well.
- Oil-rubbed bronze: Offers a traditional look, perfect for rustic or old-world styled homes.
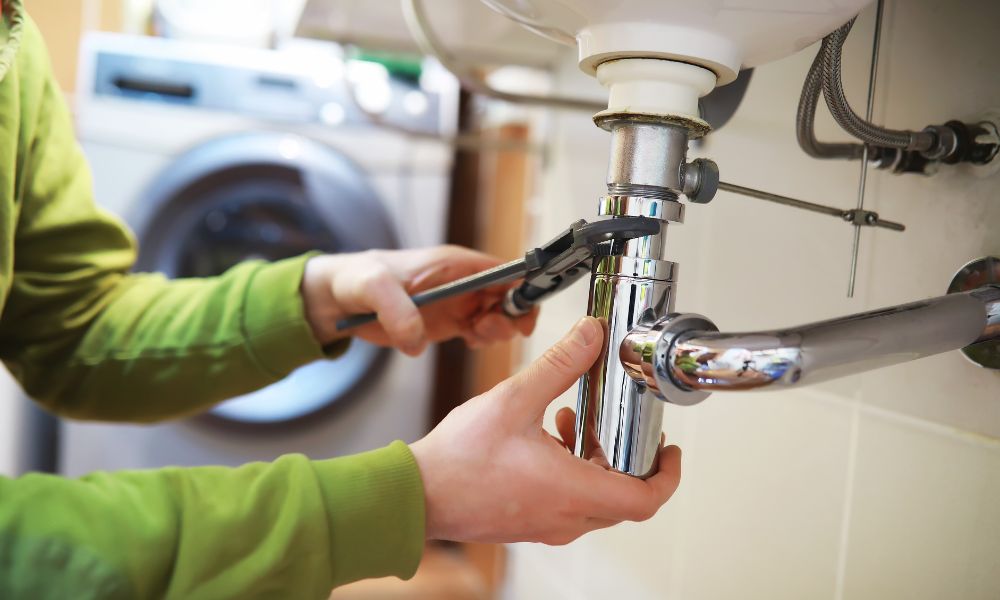
Finally, always ensure that the fixture you select is compatible with your existing plumbing system to avoid unnecessary complications or additional costs. It’s always wise to consult with a professional plumber if you’re unsure. They can provide expert advice tailored specifically to your home and requirements. Happy fixture hunting!
The plumbing system in a home plays an essential role in ensuring comfort and efficiency. It is a complex network that not only provides clean water but also efficiently drains waste material. Therefore, it is crucial to understand how proper plumbing impacts home comfort and efficiency.
The first point to note is that proper plumbing contributes to the overall health and sanitation of your home. A well-installed plumbing system ensures the efficient flow of water for cleaning, bathing, cooking, and other household chores. This means that you can maintain cleanliness and hygiene standards in your home, thereby promoting good health.
Secondly, proper plumbing improves the comfort of your home. Imagine coming back from work tired, and all you want is a hot shower, but your malfunctioning plumbing system can’t provide hot water – frustrating, right? A well-maintained plumbing system guarantees you hot showers whenever you need them, provides clean water for cooking, cleaning dishes or clothes without any inconveniences.
In terms of efficiency, correct plumbing installation helps to conserve water by reducing leaks or drips from faucets or pipes which can lead to high water bills. Moreover, modern plumbing systems have been designed with energy efficiency in mind. For instance, tankless water heaters are more efficient than traditional models as they heat up water on demand instead of storing it in a tank.
Proper plumbing also contributes to the aesthetic appeal of your home. Modern fixtures like faucets, showerheads or toilets not only perform efficiently but also add an elegant touch to your bathroom or kitchen décor.
Finally yet importantly is the contribution of proper plumbing towards increasing property value. Homes with well-planned and professionally installed plumbing systems often have higher resale values due to the added convenience and comfort they offer potential buyers.
To summarize: Proper Plumbing leads to improved health by promoting cleanliness. It enhances comfort by ensuring the uninterrupted supply of water. It promotes efficiency by saving on water and energy costs. It boosts the aesthetic appeal of your home with modern fixtures. * It contributes to increased property value as it makes a home more attractive to potential buyers.
In light of these benefits, it’s clear why homeowners need to invest in proper plumbing installation, maintenance and repairs when necessary. Hiring a professional plumber can help you achieve an efficient and reliable plumbing system that enhances comfort in your home.
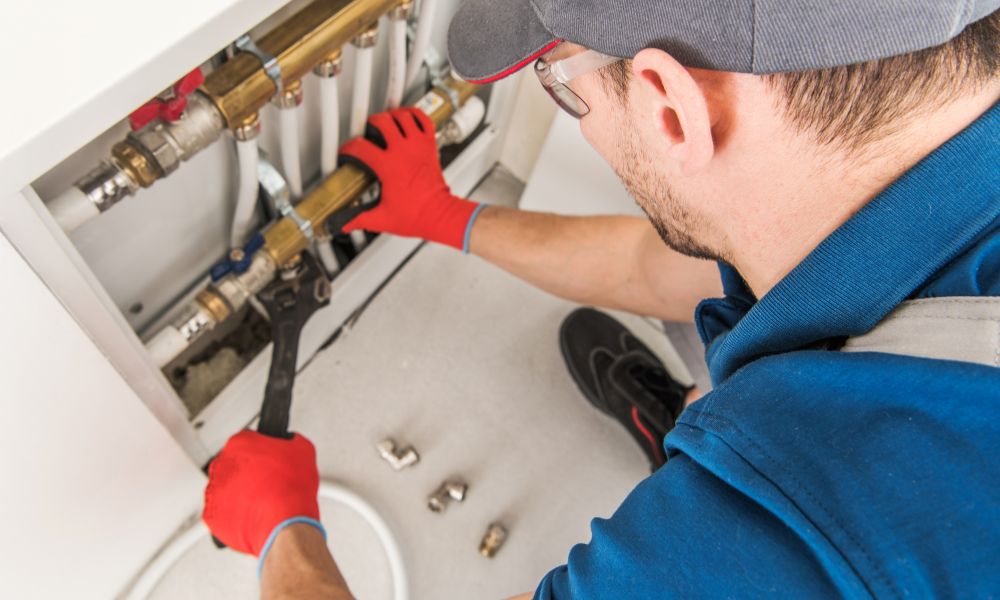
Purchasing plumbing materials is a crucial part of any home renovation or construction project. The quality and compatibility of the materials you select can influence the efficiency and longevity of your plumbing system. Because there are many options available, it can be challenging to make informed decisions. Here are some useful tips to help you choose high-quality plumbing materials.
Understanding Different Plumbing Materials
The first step in selecting the right plumbing materials is understanding the different types that are available. Each type of material has its own set of advantages and disadvantages, and what works best will depend on your specific needs.
- PVC (Polyvinyl Chloride): This material is quite common for residential plumbing systems because it’s affordable, lightweight, easy to install, and resistant to corrosion.
- Copper: This type is more expensive than PVC but offers excellent durability and resistance to corrosion.
- PEX (Cross-linked Polyethylene): This flexible plastic tubing has become popular due to its ease of installation and ability to withstand high temperatures.
- Cast Iron: Ideal for waste lines, cast iron pipes are incredibly durable but heavy.
Considerations for Selecting Plumbing Materials
When choosing your plumbing materials, it’s vital to consider several factors:
- Purpose: The function of the pipe will determine the ideal material. For instance, PVC is commonly used for drainage lines while copper is preferred for water supply lines due to its durability.
- Durability: Consider the longevity of different materials in your selection process as well. Copper and cast iron have higher durability compared with PVC or PEX.
- Ease of Installation: If you’re doing a DIY project, consider how easily you can install different types of piping. PVC and PEX tubing are simpler choices compared with copper or cast iron.
- Cost-effectiveness: Weigh up the initial cost of materials with their lifespan. A cheaper material may incur more costs in the long run due to maintenance and repair.
- Local Codes and Standards: Ensure your chosen materials comply with local building codes and standards.
Seek Professional Advice
While it’s possible to do a lot of research on your own, don’t underestimate the value of professional advice. Experienced plumbers have a wealth of knowledge about the best materials for different situations. They can also provide insights into what brands tend to be most reliable, which can guide you towards high-quality materials.
Leveraging Online Reviews and Ratings
Online reviews and ratings can also be handy when choosing plumbing materials. They can provide real-life experiences from other homeowners or professionals who’ve used those products. This kind of firsthand knowledge can help you make better-informed decisions about what materials will work best for your project.
Choosing high-quality plumbing materials is crucial for any successful home renovation or construction project. By understanding the different types available, considering key factors, seeking professional advice, and leveraging reviews, you’ll be well equipped to make the right choices for your home’s plumbing system.
When it comes to selecting plumbing fixtures for your home, functionality and durability are critical considerations. However, the aesthetics of these fixtures also play a vital role in enhancing the overall look and feel of your living spaces. The right plumbing fixtures can harmonize with your home’s design, adding style and elegance to your kitchen or bathroom.
Plumbing fixtures have evolved over the years to become essential elements of home decor. From sleek and modern designs to traditional or rustic styles, there is an array of options available that can complement varying interior designs.
Here are some reasons why aesthetics should be factored into your decision when choosing plumbing fixtures:
Complements Your Home’s Overall Design Theme
The design theme of your home extends to every nook and corner, including the kitchen, bathroom, and utility areas. Therefore, ensuring that every detail complements this theme is essential for maintaining harmony throughout your space. Whether it’s a clawfoot tub for a vintage-styled bathroom or a sleek faucet for a contemporary kitchen, aesthetically pleasing plumbing fixtures can enhance the overall ambiance.
Adds Value to Your Property
Beautifully designed plumbing fixtures can add significant value to your property. Sophisticated faucets, stylish showerheads, well-crafted sinks – all these elements can make your house more attractive to potential buyers.
Enhances User Experience
Aesthetic appeal goes hand-in-hand with improved user experience. Ergonomically designed faucets that are easy on the eyes also tend to be easier to operate. Similarly, stylish shower systems with features like adjustable water temperature and pressure contribute towards an elevated bathing experience.
Expresses Your Personal Style
Your choice of plumbing fixtures is also an expression of your personal style. Whether you prefer minimalistic designs or ornate craftsmanship, you can convey your preferences through these details.
When choosing aesthetically pleasing plumbing fixtures, consider the following tips:
- Consistency is Key: Choose fixtures that match or complement each other. If possible, purchase all your fixtures from the same collection to ensure continuity.
- Consider the Finish: The finish of a fixture can drastically change its appearance and impact on your space. Popular finishes include polished chrome, brushed nickel, oil-rubbed bronze, and matte black.
- Balance Style and Functionality: While aesthetics are important, they should not compromise functionality. Ensure your fixtures are as practical as they are attractive.
In essence, the aesthetic of plumbing fixtures is an integral aspect of your home’s interior design. They can either make or break the overall look and feel of your space. So, while it’s vital to consider their functionality and durability, remember that their design will also contribute to making your home a comfortable and visually pleasing environment.
Selecting plumbing fixtures for your home is a critical decision that impacts the functionality, aesthetics, and comfort of your living space. However, homeowners often make several common mistakes when choosing plumbing fixtures. These missteps can lead to difficulties in use, maintenance issues, or simply an unsatisfactory look and feel. Here are some of the most common errors and how to avoid them.
The Essential Role of Plumbing Contractors in Northern Virginia
Many homeowners overlook the need for compatibility between their chosen fixtures and existing plumbing system. This mismatch can lead to installation hurdles, maintenance issues, or even damage to your plumbing system over time.
- Always check compatibility: Ensure that the fixture you’re purchasing is compatible with your existing plumbing setup.
- Seek professional advice: If unsure, seek advice from a professional plumber or a specialist at your local home improvement store.
Prioritizing Northern Virginia Plumbing Services Over Functionality Concerns
While it’s important to choose fixtures that complement your home’s aesthetics, it’s crucial not to compromise on functionality. Fixtures that look good but don’t function well will only cause frustration in the long run.
- Consider usage patterns: Think about how you’ll use each fixture daily and choose ones that will cater to these needs.
- Look beyond design: Beautiful design should never be at the expense of ease-of-use or durability.
Ignoring Long-Term Maintenance
Some materials may look appealing but require high maintenance or don’t age well. Ignoring long-term maintenance could mean higher costs down the line.
- Research material durability: Different materials have different levels of durability; some may corrode over time while others may be more resistant.
- Factor in maintenance costs: Consider what type of cleaning products you’ll need and how often maintenance will be required when choosing fixtures.
Neglecting Water-Efficiency
In today’s eco-conscious society, water efficiency is key. Selecting fixtures that are water-efficient not only contributes to environmental conservation but also saves on water bills.
- Check for efficiency labels: Look for fixtures with a WaterSense label; these are certified to be water-efficient.
- Consider investing in modern fixtures: Modern plumbing fixtures often come with built-in water-saving technology.
Choosing Fixtures Based Solely on Price
While sticking to a budget is important, choosing plumbing fixtures based solely on price could lead to poor quality selections that may not last or perform well.
- Don’t compromise quality: It’s better to invest in high-quality fixtures that will last longer and operate more effectively rather than replace cheap ones regularly.
- Consider the total cost: Remember the cost of fixtures includes not just the purchase price but also installation charges and long-term maintenance costs.
Avoiding these common missteps when selecting your home’s plumbing fixtures will ensure you make choices that enhance your home’s comfort, functionality, and aesthetics. You’ll save time, money, and potential headaches in the long run.
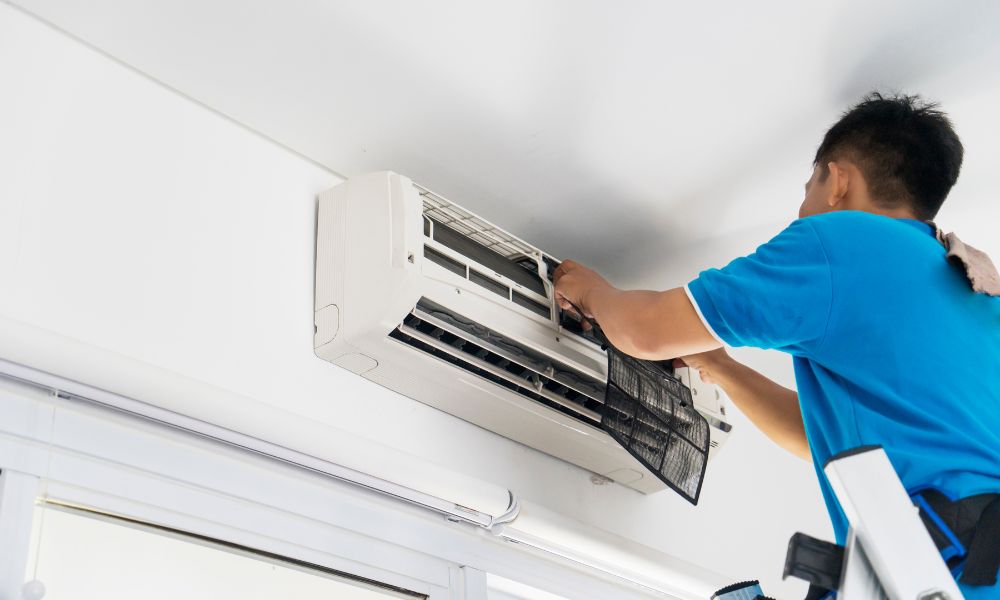
- Comprehensive Guide to Air Conditioning Repair in Northern Virginia
- Air Conditioning Repair in Northern Virginia: Essential Tips to Keep Your Home Cool
- Choosing the Right Plumbers in Northern Virginia for Your Home Plumbing Needs
- Expert Guide on Choosing the Right Plumbers in Northern Virginia for Your Home
- Discovering the Top Plumbers in Northern Virginia: A Comprehensive Guide